
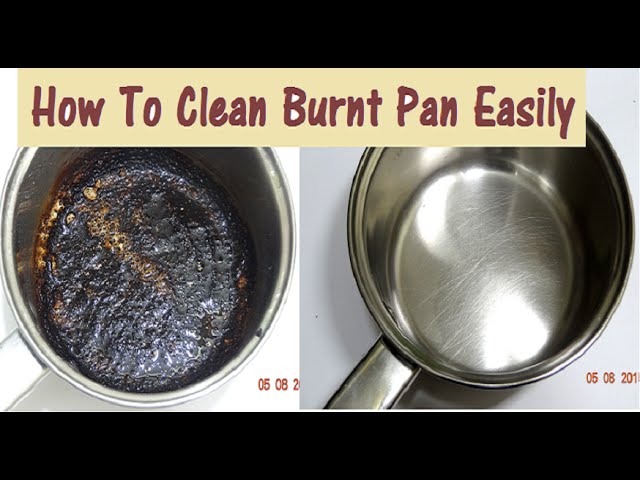
To clean a pot with a burnt milk bottom, mix water and vinegar and let the solution simmer on the stove for 10-15 minutes. Then, use a scrubber to remove the burnt milk residue.
Cleaning a pot with a burnt milk bottom can be a daunting task, especially if it’s not tackled immediately. The burnt milk creates a layer of tough stains that can be hard to remove. However, there’s no need to fret.
With a simple solution of water and vinegar, the pot can be restored to its former, shiny glory. The acidic properties of vinegar help to break down the burnt milk residue, allowing you to scrub it off easily. In this article, we’ll elaborate on how to effectively clean a pot with a burnt milk bottom to make it look as good as new.
Credit: www.tasteofhome.com
Assessing The Damage
Assessing The Damage: Things To Look Out For When You First Discover Burnt Milk In Your Pot
Burnt milk at the bottom of a pot can be frustrating, to say the least. But before you rush into cleaning the pot, you should assess the damage first. Here are some things to look out for when you first discover a burnt milk-bottom pot:
- Severity: How severe is the burnt milk? Is it just a thin layer or thick and heavily caked on the bottom of the pot? This is a crucial factor when choosing the cleaning method.
- Type of cookware: The type of pot you used, such as the material or coating, can affect how effectively you can remove the burnt milk. Take note of your cookware details to help choose the right cleaning tool.
- Time since burning: How long has the milk been burnt? The longer the time, the tougher it will be to remove the burnt milk.
- Type of milk used: Different types of milk can result in varying levels of burnt milk. Some types of milk, such as non-fat, are more prone to burning than others.
Tips On Avoiding Further Damage During The Cleaning Process
Now that you have assessed the damage, you can proceed to clean the pot. However, you must be cautious to prevent further damage. Here are some tips to help you avoid causing additional damage during the cleaning process:
- Avoid overheating the pot: Overheating the pot can cause the burnt milk to become further ingrained into the pot, making it even more challenging to remove. Use a lower heat setting and gradually increase it if necessary.
- Take your time and let the cleaner sit: Rushing through the cleaning process can cause additional damage. Take your time, and let the cleaner sit for a while on the burnt milk stain to help loosen it.
- Do not use abrasive materials: Abrasive materials such as steel wool or metal scouring pads may scratch the surface of the pot, making it more challenging to clean the next time around. Instead, use non-abrasive cleaning tools such as a sponge or a soft-bristled brush.
Choosing The Right Cleaning Tools For The Job
Choosing the right cleaning tool is as vital as assessing the damage and avoiding further damage during the cleaning process. Here are some of the essential tools you can use:
- Baking soda and water: Baking soda is an excellent alternative to harsh chemicals that can damage your cookware. Mix a paste of baking soda and water and apply it to the burnt milk. Let it sit for a while before scrubbing it off.
- Vinegar: Vinegar contains acetic acid that helps to break down the burnt milk. Pour vinegar into the pot and let it simmer for a while before scrubbing.
- Lemon juice: Lemon contains citric acid that has natural cleaning properties. Squeeze a half lemon in the pot, fill it up with water, and let it simmer for a while before scrubbing.
- Non-abrasive sponge or brush: This tool is ideal for gently scrubbing off the burnt milk from your pot.
Cleaning a pot with burnt milk may seem daunting, but it’s achievable. By assessing the damage, avoiding further damage, and choosing the right cleaning tools for the job, you can make your pot look as good as new.
Natural Cleaning Solutions
Natural Cleaning Solutions For Burnt Milk Pots
There is nothing more frustrating than a pot with a burnt milk bottom. However, before you scrape and scrub your pot, there are a few natural cleaning solutions you can try.
Provide A List Of Natural Ingredients
There are several natural and homemade ingredients you can use to clean burnt milk from pots. Here is a list of some of the most effective:
- Baking soda: This miracle ingredient is a great natural cleaner and can easily remove stains from your pots.
- White vinegar: Another natural ingredient that is perfect for cleaning burnt milk pots, white vinegar has acid that can dissolve the milk residue.
- Lemon juice: Lemon juice is a natural acid that can easily break down and remove the milk stains from your pots.
- Salt: Salt is an abrasive ingredient that can aid in scrubbing the burnt milk stains from your pot.
Discuss Benefits Of Natural Cleaning Solutions Vs Chemical Cleaners
While chemical cleaners may seem like the easier option, using natural cleaning solutions instead has numerous benefits. Here are just a few:
- Chemical cleaners can be toxic and harmful to your health, whereas natural cleaning solutions are much safer to use.
- Natural ingredients such as baking soda, lemon juice, and salt are readily available, inexpensive, and eco-friendly.
- Chemical cleaners can damage the surface of your pots, causing them to lose their shine, whereas natural cleaning solutions are gentle and will not cause any damage.
Step By Step Instructions For Using Homemade Solutions
Now that you know the natural ingredients that can help clean burnt milk from pots and the benefits of using them versus chemical-based cleaners, here are some step-by-step instructions on how to use them.
- Baking soda: Mix baking soda with water to create a paste. Rub the paste onto the burnt area and let it sit for 15-20 minutes. Scrub the area with a sponge or cloth, then rinse with warm water and dry thoroughly.
- White vinegar: Pour white vinegar into the pot and let it heat up to a simmer. Let it simmer for 5-10 minutes, then turn off the heat and let the pot cool. Once cooled, scrub the burnt area with a sponge or cloth, then rinse with warm water and dry thoroughly.
- Lemon juice: Squeeze fresh lemon juice onto the burnt area and let it sit for 10 minutes. Scrub the area with a sponge or cloth, then rinse with warm water and dry thoroughly.
- Salt: Pour a generous amount of salt onto the burnt area and let it sit for 10-15 minutes. Scrub the area with a sponge or cloth, then rinse with warm water and dry thoroughly.
Using natural ingredients instead of chemical cleaners is safe, eco-friendly, and inexpensive. Baking soda, white vinegar, lemon juice, and salt are highly effective natural cleaning solutions, and using them to clean your burnt milk pots is easy and straightforward.
Other Cleaning Products
Discuss The Different Types Of Cleaning Products That Are Commercially Available.
There are different types of cleaning products that you can use to clean a pot with a burnt milk bottom. Here are some of the commercially available options that you can choose from:
- Baking soda: Known for its superior cleaning abilities, baking soda is an effective way to clean a pot with a burnt milk bottom.
- White vinegar: White vinegar is another powerful cleaning agent that can remove tough stains easily.
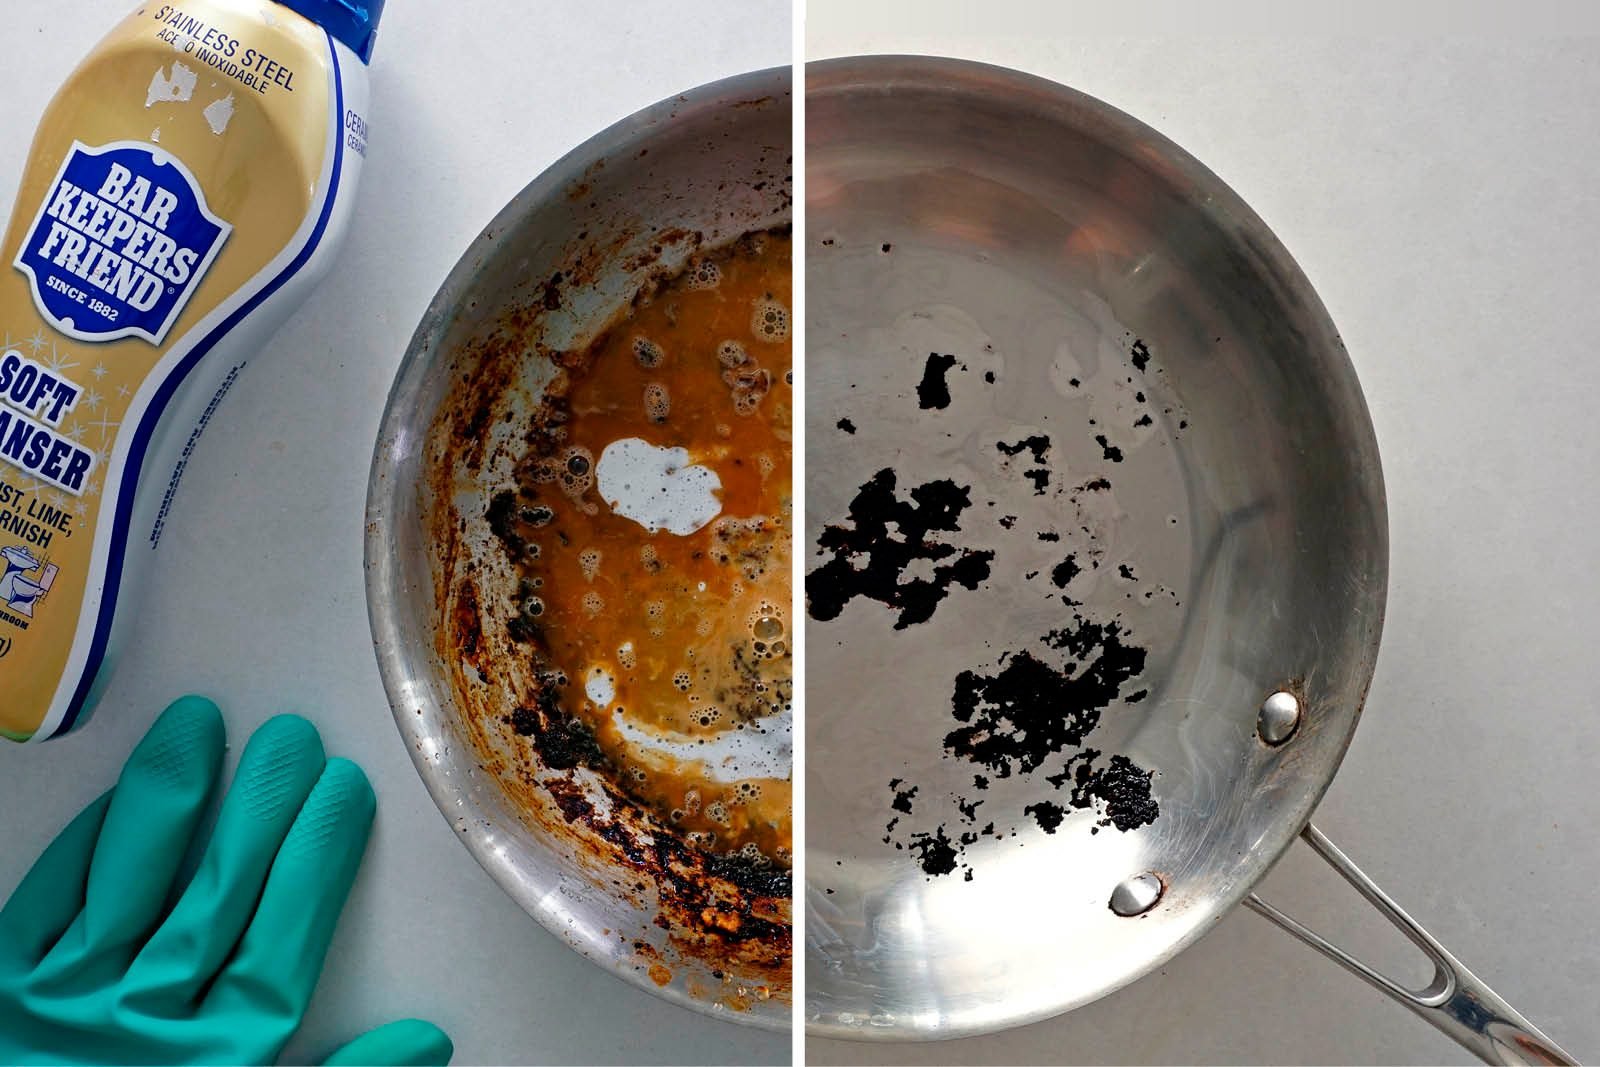
- Barkeeper’s friend: Barkeeper’s friend is a popular cleanser that contains oxalic acid and can remove burnt milk stains easily.
- Lemon: Lemon is a natural bleaching agent that can help remove stains from your pot.
Discuss The Benefits And Drawbacks Of Each Cleaning Product.
Each cleaning product has its own advantages and disadvantages. Here are some of the benefits and drawbacks of using the commercially available cleaning products:
- Baking soda:
Benefits: baking soda is a cheap and non-toxic cleaning product that cleans effectively.
Drawbacks: it takes time to do its job and may leave a residue.
- White vinegar:
Benefits: white vinegar is versatile and can be used to clean different household items aside from pots.
Drawbacks: its strong odor might not be pleasant, and it may not be as effective when used alone.
- Barkeeper’s friend:
Benefits: barkeeper’s friend is a powerful cleaning product that can remove stubborn stains easily.
Drawbacks: it may scratch your pot’s surface and may not be effective for non-stick pots.
- Lemon:
Benefits: lemon is an all-natural product with no harmful chemicals and can be used as a natural bleach.
Drawbacks: its acid content may corrode the pot over time and might not be effective for tough stains.
Provide Instructions On How To Use Each Cleaning Product Safely And Effectively.
To use these cleaning products safely, and effectively, follow these simple steps:
- Baking soda:
Mix baking soda with water until it forms a paste. Apply it to the pot and let it sit for a few minutes before scrubbing it with a sponge or brush. Rinse it well with water after.
- White vinegar:
Pour a small amount of white vinegar into the pot and let it simmer for a few minutes over low heat. Let it cool before scrubbing it with a sponge or brush. Rinse the pot well with water.
- Barkeeper’s friend:
Sprinkle barkeeper’s friend on the burnt milk stains and let it sit for a few minutes. Scrub it with a sponge or brush and rinse it well with water.
- Lemon:
Slice the lemon in half and rub the inside over the burnt milk stains on the pot’s bottom. Leave it for a few minutes before rubbing it with a sponge or brush. Rinse it well with water after.
Keep in mind that these cleaning products should be used only on the bottom part of the pot, avoid using it on the non-stick surface or over the pot’s entire surface, and use gloves while cleaning with strong cleaning agents.
Prevention Techniques
Discuss The Best Practices For Preventing Burnt Milk On The Bottom Of The Pot.
To prevent burnt milk on the bottom of the pot, follow these useful tips:
- Place the pot on low to medium heat and avoid high temperatures to prevent milk from sticking to the bottom.
- Constantly stir the milk while it cooks to distribute heat evenly and avoid the milk from boiling.
- Add a pinch of salt to the milk before cooking. Salt enhances the flavor, raises the boiling point, and can prevent milk from boiling over.
- Avoid using pots with thin or warped bottoms, which can cause hot spots and scorch the milk.
- Do not leave the milk unattended while it cooks, and set a timer to alert you every few minutes to stir the milk.
Tips On How To Adjust Your Cooking Techniques To Avoid Burnt Milk.
If you’ve already burnt milk on the bottom of the pot, you can salvage it by trying adjustments to your cooking methods:
- Do not scrape the burnt milk from the bottom of the pot as the flavor is bitter and it can spoil the milk’s taste. Instead, carefully pour off the unburnt milk and set it aside before discarding the burnt part.
- Use heavy-bottomed pots that distribute heat evenly and reduce the chances of burning your pot’s bottom.
- Reduce the heat to low and avoid cooking milk at high temperatures.
- Gently move the pot on the stove or hob as you stir the milk to ensure that you cook it evenly.
- Use a non-stick pot or add a teaspoon of butter or oil at the bottom of the pot when cooking milk to create a barrier between the pot and the milk.
Discuss The Importance Of Cleaning The Pot After Each Use To Avoid Stains And Odors.
Cleaning your pot after each use can help prevent stains and odors. To clean a pot with burnt-on milk, follow these simple steps:
- Fill the pot with water and bring to a boil.
- Turn off the stove and add a tablespoon of baking soda or vinegar to the boiling water.
- Let the water cool before discarding it, and use a soft bristle brush or sponge to scrub the pot’s bottom.
- Rinse the pot with clean water and wipe with a clean dishcloth.
- For odors, fill the pot with water and add a few drops of lemon juice before boiling the water. Let the pot soak for a few minutes before rinsing it out.
Keeping your pot clean after each use not only makes it look well maintained but also prevents the accumulation of bacteria, prolonging the pot’s durability.
Frequently Asked Questions Of How To Clean A Pot With A Burnt Milk Bottom?
How Do You Clean A Burnt Milk Bottom On A Pot?
To clean a burnt milk bottom on a pot, add one part water and two parts vinegar. Boil the solution for 5-10 minutes, let it cool, and then scrub the pot with a non-abrasive scrubber.
Can You Clean A Pot With Burnt Milk With Baking Soda?
Yes, you can clean a pot with burnt milk with baking soda. Mix baking soda and water to make a paste. Apply the paste to the burnt area and let it sit for 30 minutes. Scrub the pot gently with a non-abrasive scrubber, then wash it with dish soap and water.
Will A Burnt Milk Stain Come Off A Pot?
Yes, a burnt milk stain can come off a pot. Use a natural cleaning agent like baking soda or vinegar to remove the stain. Boil a mixture of vinegar and water or sprinkle baking soda onto the stain and let it sit before scrubbing with a non-abrasive scrubber.
Repeat until the stain is gone.
Conclusion
Cleaning a pot with burnt milk at the bottom can be a daunting task. But with the right techniques, it is possible to have a sparkling clean pot in no time. First and foremost, always try to avoid burns by keeping an eye on your pot while boiling milk.
In case you do get a burnt pot, don’t lose hope and try out any of the methods mentioned in this article. From using baking soda, vinegar, and lemon juice to soaking the pot in hot water, there are many ways to achieve the desired result.
Additionally, when cleaning a burnt milk pot, it is essential to be gentle and patient to avoid damaging the pot’s surface. With these easy and effective cleaning tips, you can say goodbye to burnt milk pots for good and always have a spotless pot ready for your next culinary creation.


Leave a Reply